
Fold
Touching the fold button will fold the DXF using the angles specified and displays a 3-dimensional view. This view can be rotated by touching on the blank area around the model and then dragging the view. Navigation buttons are present to the left side of the window. Use the arrow keys left, right, up and down to move the model along the respective direction. Touch the Plus mark to zoom-in and use the Minus mark to zoom-out the model. To fit the model to the window, touch the rectangle mark, present in between the Plus and Minus icons.
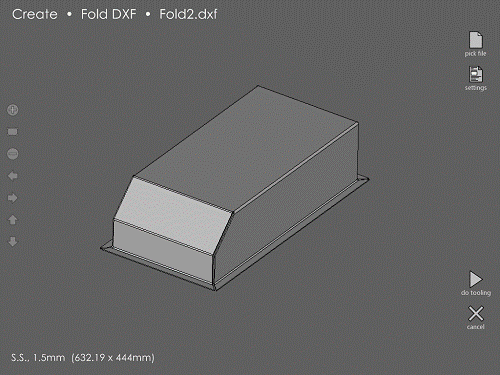
If this looks fine, then press the do tooling button to compute a bending sequence and tool assignments for this model. The model is then saved in the Models folder. Review the sequence, gauge positions, and tooling on this model, or run the program for this model on the press-brake.
If the model does not look quite correct, you can tap the cancel button to go back to the previous page, where you can adjust the folding angles and try again.
Before folding up the flat pattern, make sure the required parameters are entered in the settings dialog and the thickness and material used are verified. If you plan to use special tools, select and lock them in the same dialog. In fact, those parameters influence the dimensions of the resulting folded 3D model. After this initial folding, the 3D model always maintains its dimensions even if the tooling is changed using the edit → Sequence → recompute.